Back to School Sheet of Paper Outline: What to Know Before You Download and Use Digital Design Files
A new school year brings a wave of creative projects. From classroom decorations and teacher gifts to newsletters, planner pages, and social media posts, the need for clean, versatile design assets is real. That is where a Back to School Sheet of Paper Outline comes in. It sounds simple, but this type of digital file can save you hours of work, provided you understand what you are actually getting and how to use it properly.
Many people download a set of files like this and immediately run into trouble. The problem is rarely the design itself. More often, the frustration comes from mismatched expectations, format confusion, or a simple oversight that turns a five-minute task into an afternoon of troubleshooting. Let me walk you through the most common mistakes people make with digital design files, especially those meant for back-to-school projects, and show you how to avoid them.
What Exactly Is a Back to School Sheet of Paper Outline?
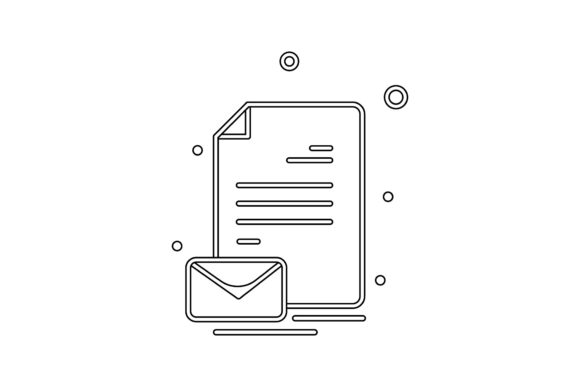
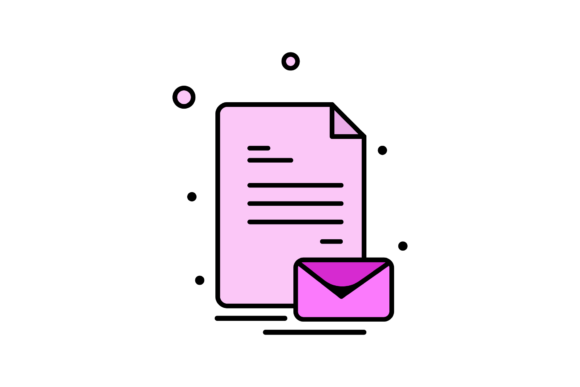
A Back to School Sheet of Paper Outline is a digital template or graphic element that mimics the look of a lined or blank sheet of notebook paper, often styled with school-themed accents. It is not a physical product. You receive a set of digital files that you can edit, resize, and use in your own designs. The set typically includes multiple formats, such as AI, EPS, SVG, DXF, JPG, and PNG, each with its own purpose. People use these outlines for flyers, classroom handouts, digital scrapbooking, sublimation printing, and even cutting machine projects.
The appeal is convenience. Instead of drawing a notebook page from scratch or hunting for a free clipart image with poor resolution, you have a ready-made, scalable design that fits right into your workflow. But convenience only helps if you know which file to use and how to handle it.
Mistake: Grabbing the Wrong File Format for Your Project
This is the most common error I see. A beginner downloads a set of six files and opens the JPG, then wonders why they cannot change the color of the lines or remove the background. Or they try to upload a 1920-pixel-wide PNG into a cutting machine and get frustrated when it does not cut cleanly.
Each format in that six-file bundle serves a different purpose. The AI and EPS files are vector formats meant for professional design software like Adobe Illustrator or CorelDRAW. They let you scale the design to any size with no loss of quality, and you can edit every element. The SVG file is also vector-based and works well for cutting machines like Cricut or Silhouette, as well as for web use. The DXF file is another vector option, often used for CAD software or certain cutting machine programs. The JPG and PNG files are raster images. The PNG typically has a transparent background, which is helpful for layering, while the JPG has a solid background.
If you only need a quick image for a social media post, the PNG or JPG is fine. If you need to resize the design for a banner or edit the colors, you want the AI, EPS, or SVG. Using the wrong format does not break the file, but it does limit what you can do with it.
Practical Advice
Before you download, know your software and your final output. If you are a beginner with no vector editing software, start with the PNG file for most projects. If you plan to cut the design on a machine, use the SVG or DXF. If you are a professional designer, the AI or EPS file gives you the most flexibility. Keep all six files in a folder so you can grab the right one later without having to re-download.
Mistake: Ignoring the Canvas Size and Resolution
The file set specifies a canvas size of 1920 pixels by 1280 pixels. That is not a random number. It is a common resolution for web graphics, presentations, and some print applications. But if you try to print this design on a full-size poster or a large classroom banner without scaling it properly, you will end up with a blurry or pixelated result.
Many users assume a digital file can be stretched to any size without consequences. That is only true for vector formats. If you open the JPG or PNG and enlarge it beyond its original dimensions, the image quality drops. The edges become soft, and text or lines lose their crispness. For a school project or a printed handout, this looks unprofessional.
Practical Advice
Check the pixel dimensions before you start. For print projects, a resolution of 300 dots per inch is standard. At 1920 by 1280 pixels, that gives you a print size of roughly 6.4 by 4.3 inches. If you need a larger print, use the vector files (AI, EPS, or SVG) so you can scale the design infinitely without losing quality. If you only have the raster files, keep the output small or use them for on-screen purposes like blog graphics or social media posts.
Mistake: Overlooking the Need for Editing Skills
A Back to School Sheet of Paper Outline is a design asset, not a finished product. Some people download it expecting a complete, ready-to-print page. Then they open the file and see only the paper outline with perhaps a simple graphic element. They do not know how to add text, change colors, or combine it with other elements.
This is not a flaw in the file. It is a misunderstanding of what digital design files are meant to provide. The outline is a starting point. You are supposed to customize it. If you are a beginner, this can feel intimidating, but it is also the reason you have so many format options. The AI and EPS files let you edit the outline directly. The PNG file lets you layer text or images on top using any image editor.
Practical Advice
Before you purchase any digital design set, ask yourself honestly what software you have and what you know how to do. If you are a beginner, look for tutorials that walk you through opening and editing SVG files in free software like Inkscape or using PNG files in Canva. The design itself is only as useful as your ability to work with it. Start with simple edits like adding a title or a border using a free online editor, then build your skills over time.
Mistake: Forgetting to Check the License and Terms of Use
This is an overlooked detail that can cause real problems for small business owners and educators. Digital design files often come with usage restrictions. Some are for personal use only, meaning you cannot sell the final products you make with them. Others allow commercial use but limit the number of copies or require credit to the designer.
If you are a teacher creating classroom materials or a small business owner making products to sell, using a file outside its license can lead to legal issues or at least a polite but firm takedown notice. The product page may not always state the license clearly in the title or description, so you need to look for it.
Practical Advice
Read the product description carefully before you download. If the license is not mentioned, contact the seller. For most standard commercial use, you can use the design in products you sell, but you usually cannot resell the digital file itself. Keep a copy of the license or terms in the same folder where you store the files. That way, if someone asks, you have proof of what is allowed.
Mistake: Not Testing the File Before a Final Project
This one trips up even experienced users. You download the files, import the SVG into your cutting machine software, and assume everything will look perfect. Then you hit cut, and the outline is off-center, or the lines are too thin, or the file does not open at all because your software version is outdated.
Digital files are created in specific software versions and with specific settings. The AI and EPS files may have been saved in an older version of Illustrator that your newer software reads differently. The SVG file might have been created with a particular cutting machine in mind. Assuming compatibility without testing leads to wasted material and frustration.
Practical Advice
Always do a test run. Open each file format that you plan to use in your software and inspect it. Check that the layers are organized, the colors are what you expect, and the dimensions are correct. If you are using a cutting machine, cut a small test shape on scrap material first. If you are printing, print a small section to check colors and sharpness. This takes ten minutes and saves you from ruining a larger batch of materials.
Mistake: Underestimating the Value of Vector Files
Many hobbyists and beginners stick with JPG and PNG because they are familiar. They do not realize that the vector files (AI, EPS, SVG) are the real treasure in the bundle. A vector file can be scaled to billboard size, edited down to the smallest detail, and exported into any other format you need. If you only ever use the PNG, you are leaving most of the product's value unused.
Practical Advice
Take an hour to learn the basics of vector editing. You do not need expensive software. Free tools like Inkscape or Vectr can open SVG files and let you change colors, adjust line thickness, and add your own elements. Once you understand vectors, you will choose a Back to School Sheet of Paper Outline for its structural flexibility, not just its appearance. That shift in thinking changes how you approach every future design project.
What to Check Before You Buy or Download
Before you add a set like this to your cart or click download, run through this short list. First, confirm the file formats match your software and intended use. Second, note the canvas size and decide whether it works for your output. Third, read the license terms thoroughly. Fourth, check the software version requirements if any are listed. Fifth, look for reviews or sample images that show the file in use. A quick review of these details prevents almost every common issue.
The Back to School Sheet of Paper Outline is a practical, time-saving resource when you use it correctly. The design itself is straightforward, but the range of formats gives you room to grow. Whether you are a teacher preparing a welcome packet, a small business owner creating seasonal products, or a hobbyist making a scrapbook page, the key is to match the file to the task and test it before you commit. Do that, and you will wonder why you ever started from scratch.